Beginner
|
1 min 8 sec
|
01:08
|
November Lookbook // 2019
November Lookbook // 2019
CBTV
Join Creativebug this autumn as we celebrate gratitude, gathering, and all things cozy. Watch this quick promo to get a sneak peek of our all-new releases and seasonal favorites. Click here to watch all of the classes shown in the promo.
Gratitude Art Journal: A Daily Practice
Mou Saha
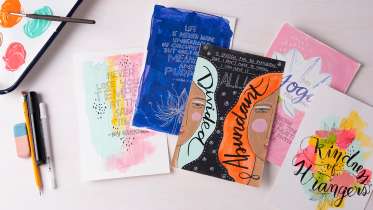
Make gratitude a part of your daily art practice with artist and Faber Castell creative Mou Saha. Each day this month she’ll share a prompt and technique focusing on the moments, people, and themes of her life for which she is the most thankful. You’ll use ink and paint to make drawings, paintings, and hand-lettering to complete your spreads. Learning to take a moment out of your every day to visually express gratitude takes a bit of practice but after a full month will become second nature, and you’ll be amazed by how your perception shifts.
Sew an Infinity Apron
Ashley Nickels
Sewist Ashley Nickels demonstrates how to make her very favorite studio accessory - the infinity apron. This stylish and versatile wrap apron is easy to pull on and off and looks both fantastic and functional on a variety of body types. Ashley guides you through this beginner level pattern that is comprised of a series of rectangles to customize the apron to your size. Get a classic look with a solid woven cotton or linen or use a printed fabric for a vibrant look.
Sew a Reversible Table Runner
Michele Muska
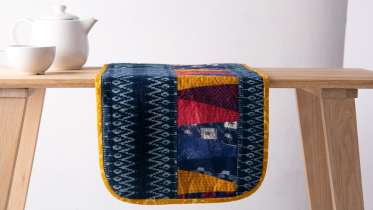
With decades of experience as a professional sewist, there’s still nothing Michele Muska loves more than sewing for the home. Use an 18 degree template to make a Dresden Plate, then quilt using both hand and machine. You’ll use heat-resistant batting to make the runner table-safe and will finish by making your own fabric bias tape. Choose your favorite fabrics to customize your runner for any season.
Cricut Crafts: Winter Trees Decor
Jennifer Sbranti
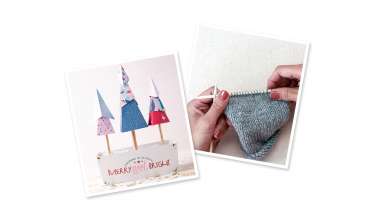
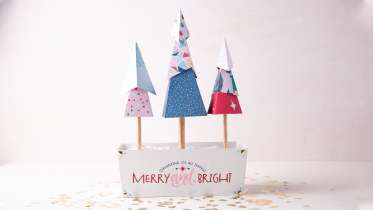
Jenn Sbranti from Hostess with the Mostess guides you through Cricut Design Space to create a trio of trees that stand up in a container of your choosing. This customizable centerpiece will spruce up your table for any holiday gathering. Jenn will also walk you through cutting out intricate vinyl accents for your merry and bright container (with special tips and tricks for how to place those tiny adhesive vinyl pieces just right). This project makes a sensational holiday centerpiece for a table or mantle.
Knitting Techniques: How to Knit Fast
Carla Scott
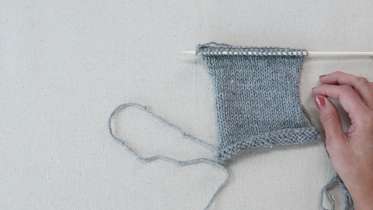
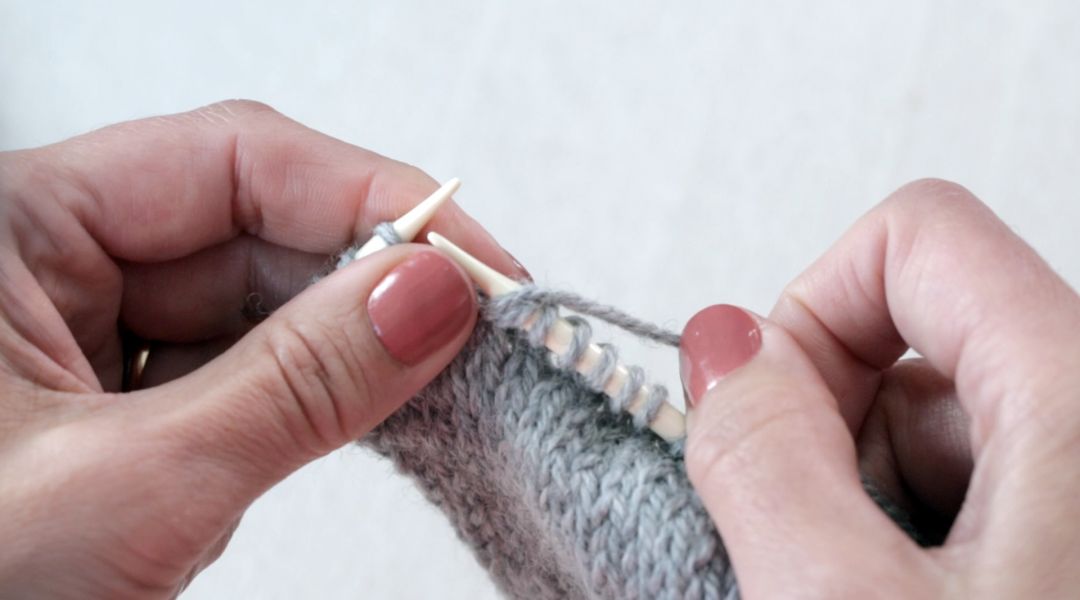
Knitting speed increases with time and practice of course, but there are other small factors to take into consideration that can affect your knitting speed in a big way. Professional knitter and knitwear designer Carla Scott demonstrates the specific technique she uses to get so many stitches worked up so quickly.
Knitting Techniques: Keeping Track of Needle Size
Carla Scott
It's all too easy to make a gauge swatch and then promptly forget the size of the needles you've used. When swatching, expert knitter Carla Scott suggests using this simple (and ingenious!) tip to keep track of your needle size.
Knitting Techniques: Using Consistent Needles
Carla Scott
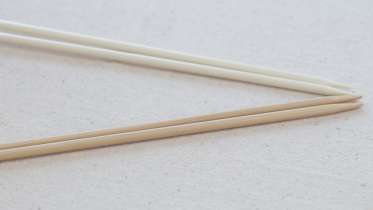
There are many variables that can change the gauge of your swatch, but you may not realize that the needle material can be one of them. Expert knitter Carla Scott demonstrates how to get consistent gauge across swatches and project knitting by keeping in mind this simple fact.
Sew a Pie Carrier
Liana Allday
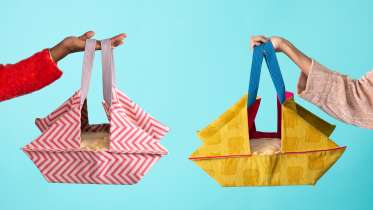
Make easy work of transporting your freshly baked pie with this simply stitched pie carrier. Sewist-with-a-sweet-tooth Liana Allday shows how two pieces of cotton fabric plus handy cotton webbing straps quickly come together to make a classy bag to tote your torte. Whether the pie carrier is for transporting your own desserts or as a gift to your favorite baker, this project comes together in less than an hour – just enough time to whip up something delicious.
Arrow Crown Block
Heather Jones
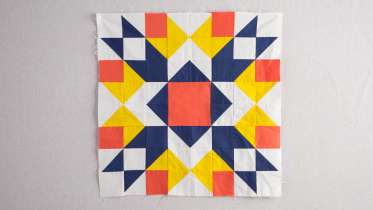
This traditional block is a true stunner. Made up of lots of little pieces, the tips and tricks you will learn in this class make the patchwork come together easily. Heather Jones uses solid colors to make this bold, modern block, and with a finished size of 16” square, you won’t need many blocks to make a full size quilt.
Crochet Edge Scarf
Anna Maria Horner
This lightweight scarf requires no sewing machine, so you can cut your fabric and dive right into adding your edging. Anna Maria will teach you how to blanket stitch around the edges and create a scalloped double crochet edging to flatter any outfit and wear in any season.
Intro to Stenciling
Natalie Chanin
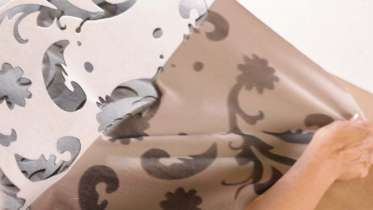
Stenciling on cotton jersey is at the core of all of Natalie’s designs for Alabama Chanin. In this workshop, Natalie will teach you how to create the cut stencil and then apply the paint that becomes the guide for all her designs. You’ll see Natalie’s tried-and-true method of air brushing the stencil onto fabric, as well as simple alternatives that use basic materials.
Suminagashi Ink Marbling
Jody Alexander
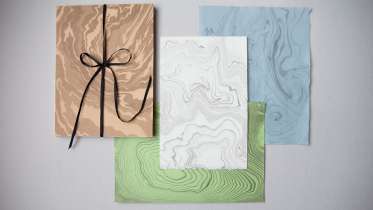
Suminagashi, or “floating ink,” is an ancient paper marbling technique that involves alternating ink and a resist to create a beautiful sequence of rings. The effect can be subtle or more pronounced, and the resulting prints can be used for book and art projects. One lovely aspect of this process is how unpredictable it is, with the water determining the pattern so you will be surprised every time.
Steeked Fair Isle Pillow
Kristin Nicholas
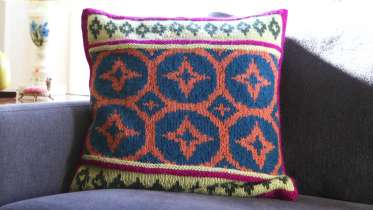
Steeking can be downright terrifying, because it requires taking a pair of scissors to your precious knitting. But once you watch this workshop with Kristin, you’ll wonder what you were scared of. Steeking makes fancy colorwork patterns much easier to knit, because you can knit in the round and then open your work up to lay flat. Kristin shows step by step how to knit in the round, reinforce your steeks, cut them and then add mitered corners to create this stunner of a pillow and shed all of your steeking fears once and for all.
Simplicity Sewing: Sew a Winter Coat
Deborah Kreiling
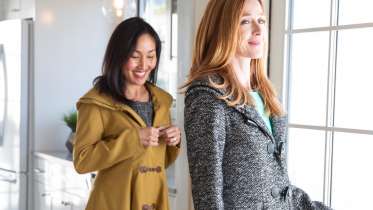
A coat may seem like an ambitious sewing project, but Deborah Kreiling – the Design Development Director at Simplicity Patterns – breaks it down into simple steps that you can do at home. In this class, Deborah shows how to make a fit and flared coat by Leanne Marshall, featuring all of the bells and whistles: lining, princess seams, double collar, and toggles. This coat can be made in two lengths and in a variety of fabric weights for all seasons. Deborah will be with you every step of the way, sharing expert insight from her 35 years of experience at Simplicity Pattern Company.
Punch Needle Embroidery Workshop
bookhou
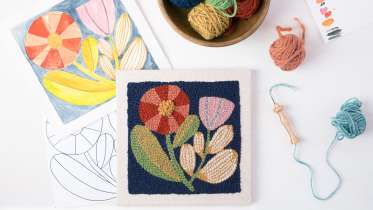
Punch needle embroidery has taken the craft world by storm, and Arounna Khounnoraj of Bookhou is at the helm of this movement. In this thorough workshop, Arounna gives the traditional craft of punch needle embroidery a modern makeover and shows how you can do the same. You will not only learn the fundamentals of how to use the punch needle tool, but also how to create a successful design from scratch and punch it up quickly with bulky weight wool. Along the way, Arounna troubleshoots potential issues and shows you how to bind off your piece to make a wall hanging, trivet or stool cover.
Kid's Embroidered Pillow
Rebecca Ringquist
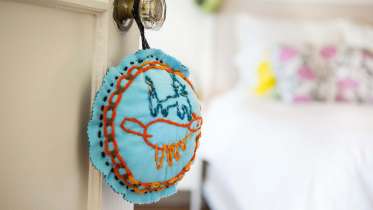
Kids can transform their drawings from paper to fabric in this clever workshop. Rebecca Ringquist shows you how to draw directly onto fabric, or transfer an existing drawing with special markers, and then use kid-friendly stitches to translate a drawing into a piece of portable décor. Also included are variations on stitches and tips to make this satisfying for little hands.
Cricut Crafts: DIY Fall Leaves Wreath
Lia Griffith
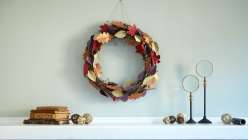
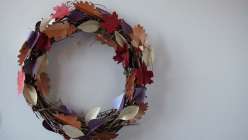
Make a festive wreath with shimmery paper leaves, perfect for fall decorating. Lia Griffith shows you how to score and cut a variety of leaf shapes, then add dimension by folding leaves for a more realistic look. Attach leaves to a withered and rustic grapevine wreath for a statement piece you can hang on the door or on a wall.
Make a festive wreath with shimmery paper leaves, perfect for fall decorating. Lia Griffith shows you how to score and cut a variety of leaf shapes, then add dimension by folding leaves for a more realistic look. Attach leaves to a withered and rustic grapevine wreath for a statement piece you can hang on the door or on a wall.
Learn how to:
What you’ll get:
Here’s what you’ll need:
Get the project design file on Cricut.com
- Cricut Explore machine
- Cricut Design Space software
- 12” x 12” LightGrip Cricut mat
- Cricut scoring tool
- Cricut spatula tool
- Computer
- 12 sheets of metallic text weight paper in a variety of colors
- Grapevine wreath form
- Hot glue gun
Downloads:
- Cut metallic paper using a Cricut Explore
- Use the scoring tool with your Cricut
- Add dimensions to leaves by folding
- Attach leaves to wreath with hot glue
What you’ll get:
- Detailed class by expert instructor Lia Griffith on how to make a festive wreath for the fall
- 3 HD video lessons you can access online anytime, anywhere
- Step-by-step instruction and an itemized supply list
- The ability to leave comments, ask questions and interact with other students

Member Gallery
Browse members' projects from this class and share your own work! Learn how to take great photos here.
Load More
Cricut Crafts: DIY Fall Leaves Wreath Reviews
511 users recommended this class to a friend
Tiffany Zelno
I knit continental style and it is much faster. I hold the yarn in my left hand, around my pinky and across my fore finger. As I put the needle through the loop, its just a small movement to put the tip of the needle behind the yarn and pull it forward back out of the loop and slip it off. I pull slightly with the fore finger to make sure the new loop is the proper tightness on the needle as use my two other finger/ palm to slide the other loops forward. It was ackward at first, as learning new skills always are, but now its so smooth and simple. For my old hands flipping that yarn over is painful and hard on my joints. I'm glad I took the time to learn the better way while I was young. Pearling is easy too, much easier than throwing around a yarn.Again the needle is doing the work of wrapping the yarn and pulling it through, but my thumb assists the process. I probably do it all wrong as I never had anyone show me how. I just read that it was possible as that was the continental way, and played around until I found a way that worked for me. Those were the old days of no internet. The only time I use the wrap around over the top method is when showing younger kids how to knit and for special patterns such as cable. I just flew through making a large blanket with a lot of eyelet work, seeding and cables. It was only the cabling and the first couple of stitches in the new row after turning that used the yarn around the top method as you can pull a little more firmly on tightening those stitches. Those are my slow spots and then I can fly. I think this video does a disservice as it may make you unwilling to learn a better way as this was is good enough and feels fast. Its just looks busy fast with yarn wapping around. I have friends who can knit fast that way but are unwilling to learn a better way. Obviously believing its not better. Fine, better is in the eye of the knitter. But for arthritis and getting projects done faster, yes, there is a better way.
More than 3 months ago


