Beginner
|
41 min 14 sec
|
00:58
|
|
00:30
|
|
04:26
|
|
13:57
|
|
03:34
|
|
07:32
|
|
10:17
|
Beginning Calligraphy
Part 1:
Modern Calligraphy: Getting Started
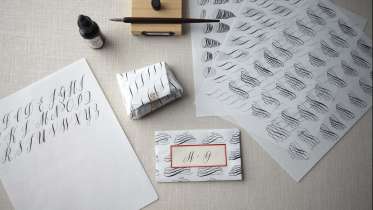
The first step to learning calligraphy is getting familiar with your tools and materials. In Part 1, Maybelle introduces you to the inks, pens, and papers you will need to get started and show you the proper way to hold the pen. After you work through a few warm-up exercises, we’ll move on to learning the uppercase alphabet. At the very end, Maybelle shares ideas for what to do with your pretty practice sheets once you’ve filled them up.
Part 2:
Modern Calligraphy: Letters, Words and Phrases
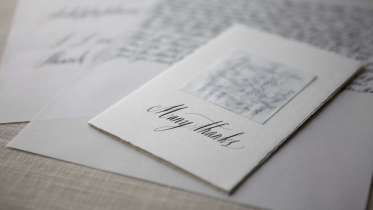
Now that you’ve had a chance to warm up with exercises and practice your uppercase letters, you’re ready to start putting some of these skills together. Part 2 introduces lowercase letters, and shows you how to smoothly connect your letters to form words. You’ll also learn how to write common words and phrases, which you’ll use to create beautiful personalized messages on notecards.
Part 3:
Modern Calligraphy: White Ink on Black Paper
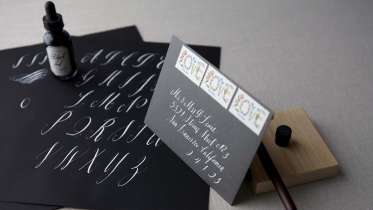
In Part 3, let’s switch things up by practicing with white ink on black paper. Since you won’t be able to use a guide sheet with black paper, this exercise helps you get comfortable with free-hand calligraphy and will loosen up your style. You’ll also learn how to write numerals and punctuation, which we’ll use together with letters to beautifully address an envelope.
Part 4:
Modern Calligraphy: Putting it all Together
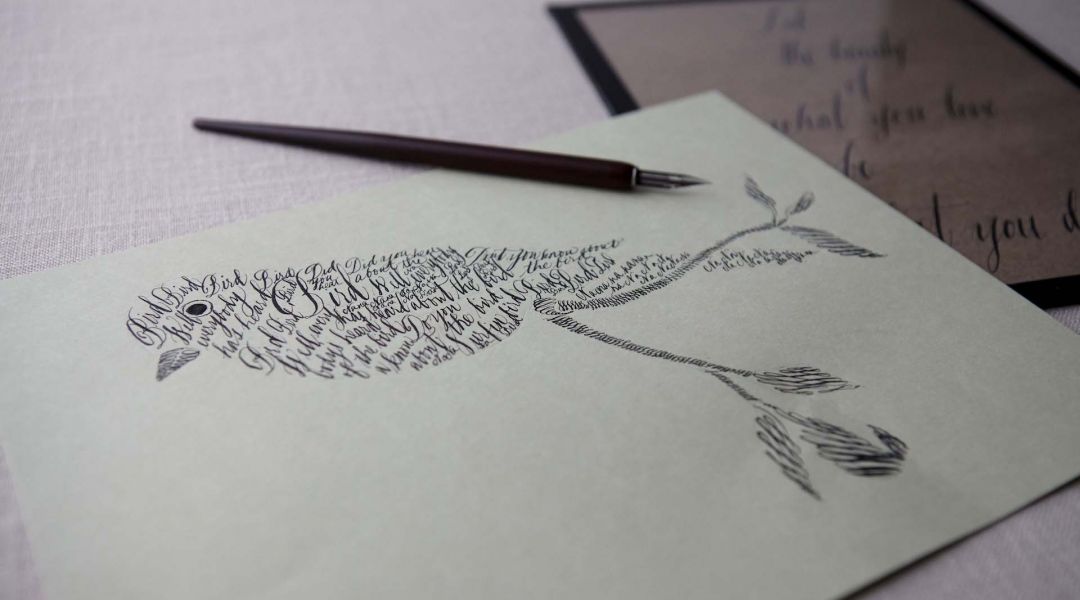
Composition is a fundamental skill for creating professional-looking finished pieces. In Part 4, Maybelle teaches her technique for creating a beautiful layout, then shows you how to transfer your design to the paper you would like to use. This transfer technique is ideal for creating hangable artwork, frameable quotes and perfectly imperfect invitations. Maybelle also shares a fun technique for creating an illustration using calligraphy, where you entirely fill a shape with words.
Composition is a fundamental skill for creating professional-looking finished pieces. In Part 4, Maybelle teaches her technique for creating a beautiful layout, then shows you how to transfer your design to the paper you would like to use. This transfer technique is ideal for creating hangable artwork, frameable quotes and perfectly imperfect invitations. Maybelle also shares a fun technique for creating an illustration using calligraphy, where you entirely fill a shape with words.
Here’s what you’ll need:
- Straight pen holder (wood or plastic)
- Pointed pen nib (Maybelle uses Nikko G pointed pen nibs)
- Black sumi ink
- Bottle for mixing
- White ink (Maybelle uses Dr. PH Martens bleed-proof white)
- Calligraphy pen rest
- Inkwells for black and white ink
- Black paper
- Lined guide sheets (see PDF to make your own print-outs)
- Vellum sheets
- Cardstock
- Envelopes
- Small vellum envelopes
- Lint-free rag
- Pen cleaner
- Black masking tape
- 2 identical pieces of glass (for framing)
- Assorted papers
- Scissors
- White eraser
- Kneaded eraser
- Pencil
- Paint brush
- Gum arabic
Downloads:


Member Gallery
Browse members' projects from this class and share your own work! Learn how to take great photos here.
Load More
Class PDF
Transcript
Notes
Your timecode tags and notes for this section
Modern Calligraphy: Putting it all Together Reviews
95 users recommended this class to a friend
Sabrina C.
Great, have been looking for an introduction to calligraphy. Excited! Really thorough and very enjoyable to watch.
More than 3 months ago
g...@gmail.com
A pleasure to watch Maybelle speak and work. Excited to try these techniques.
More than 3 months ago


